Icon collections have been developed to streamline your work with Lordicon library. This article walks through all the features of the icon collections.
Icon collections
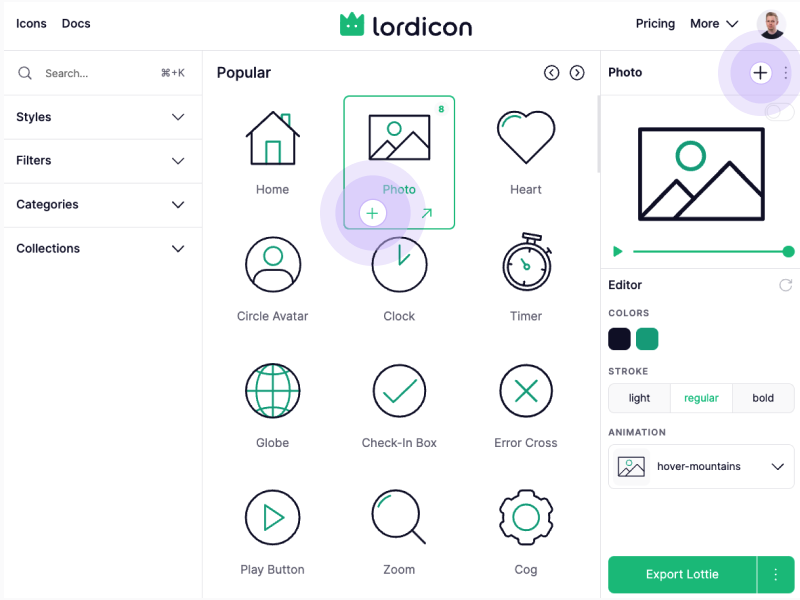
Adding icons to collection
You can mix and match different styles and families of icons to create a collection. Adding icons is an easy process that involves the following steps:
Step 1. Open a library.
Step 2. Select an icon.
Step 3. Click on the + button.
Step 4. Select collection or create a new one.
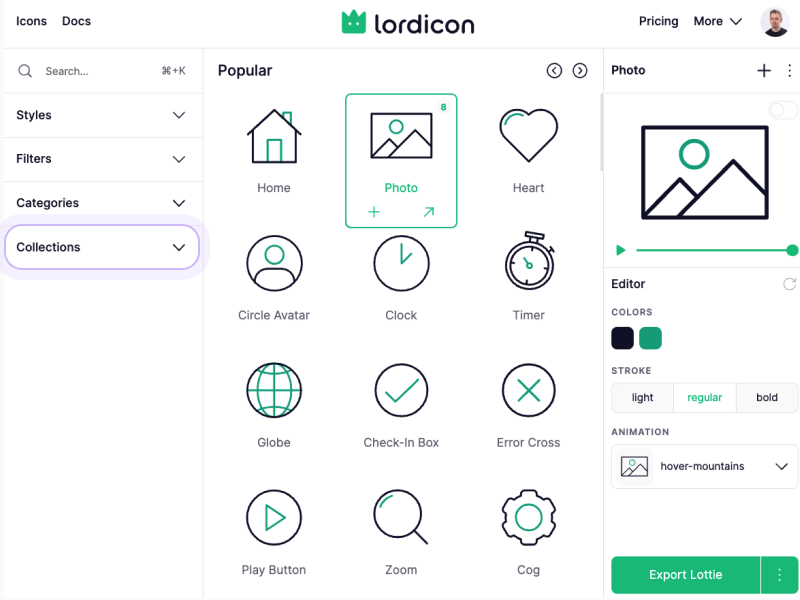
Locating collection
You can access icon collections from the left-side panel of the main library.
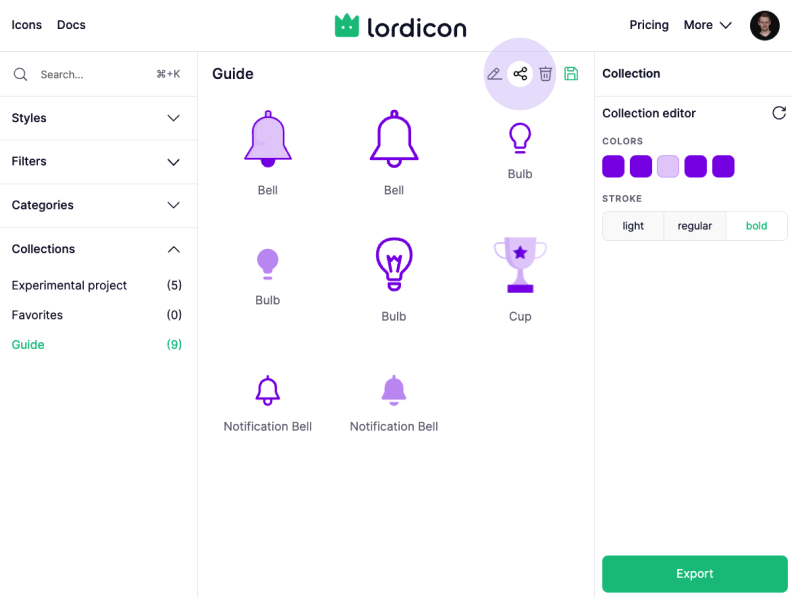
Editing collection
Icons from the collection can now be fully customized. You can edit them in bulk or click on an individual icon to set custom colors.
If you're not satisfied with the adjustments, simply click the "Reset" button to restore the original icon settings.
Make sure to click the "Save" button to ensure that any changes you have made are saved.
Downloading collection
Download an entire collection of icons at once or select a specific icon for download.
Collections can be shared with up to 5 guests per collection.
What guests can do:
-

View a read-only version of the collection, without icon customization options.
-
Download any icon in the collection (including PRO icons), even if they are on the FREE plan.
Guest management:
-

The collection owner can manage guest access at any time — including adding, replacing, or removing guests.
Important limitations:
-

Only invited guests can access a shared collection. Public or open-shareable links are not supported.
-

The admin cannot restrict guest downloads. Guests always have download access once invited.
-

All updates to a collection (such as adding/removing icons or changing customization settings) are reflected live for all guests.
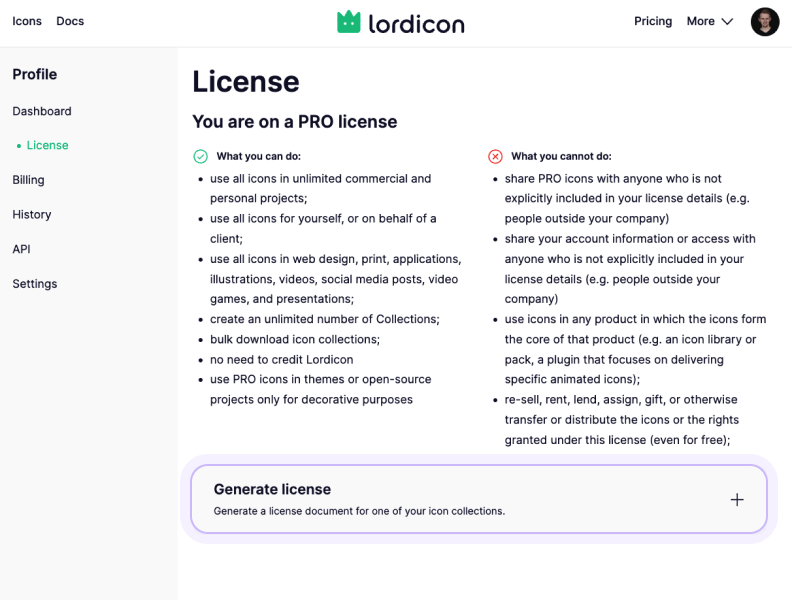
Generating license base on the collection
If you have used any icons in your project and need an official license for them, you can easily generate one by following these steps:
First, select the icons that you want to include in your license and add them to your collection.
Next, go to the License section in your Account dashboard.
Select the icon collection for which you would like to generate a license.
If you wish, you can provide your company name and the name of your client.
Generate an official PDF license that you can use for your records and administration purposes.